Neocities Tutorial
This is the simplest way to get started making a Neocities site.
Step 1: Creating the Basic Structure
Let's start with a barebones HTML structure:
<!DOCTYPE html>

  <html lang="en">

   <head>

     <meta charset="UTF-8">

     <meta name="viewport" content="width=device-width, initial-scale=1.0">

     <title>My Shiny New Website</title>

     <link rel="stylesheet" href="style.css">

   </head>

   <body>

     <p>This is where content goes.</p>

   </body>

  </html>
Copy this, and visit your Neocities dashboard. Paste it over what you find on your index.html file by selecting Edit.
If you're curious about the contents of the default template, this page explains quite a bit about it.
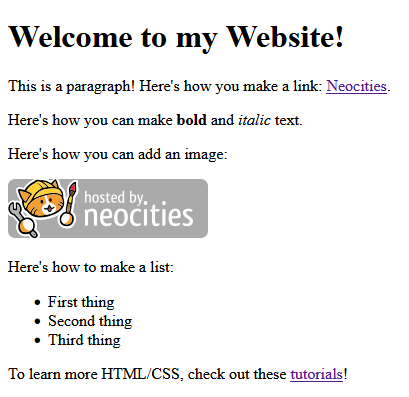
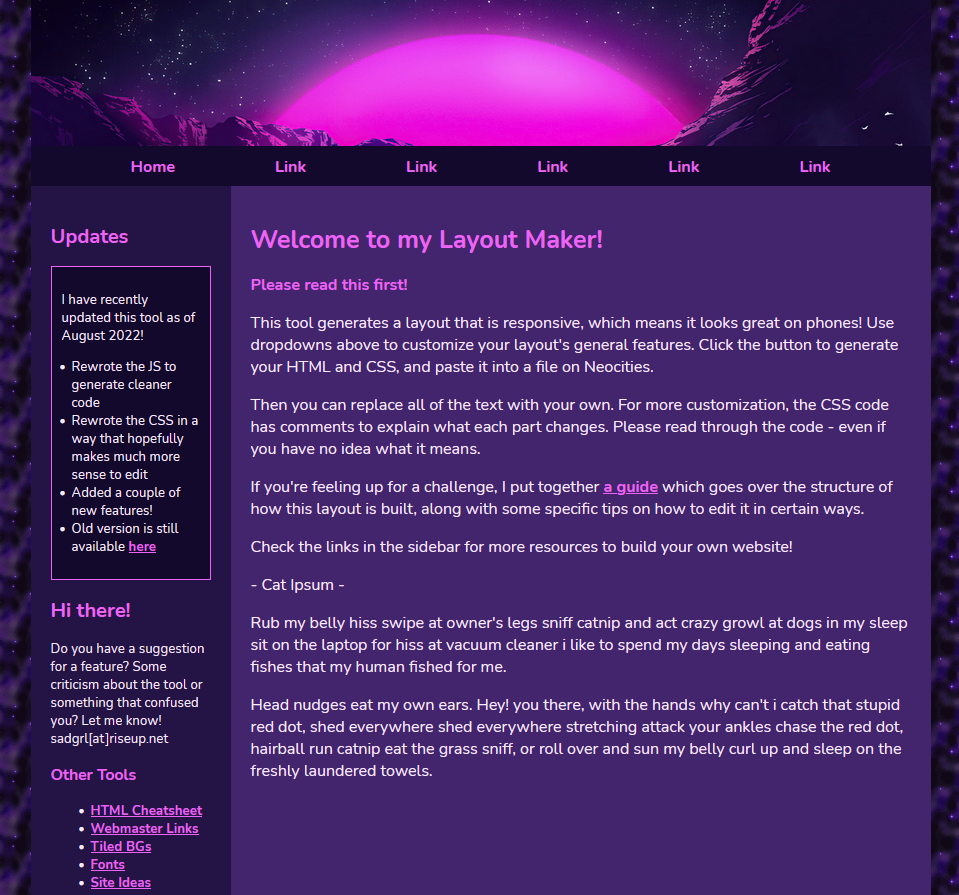
After you replace the default markup, your page will look exactly like this.

Yes, your page looks quite barren at the moment. That's OK! In the very next step we'll be adding your layout.
Step 2: Selecting Your Layout
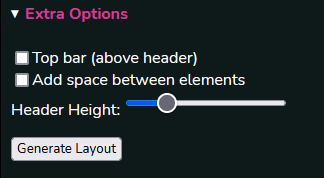
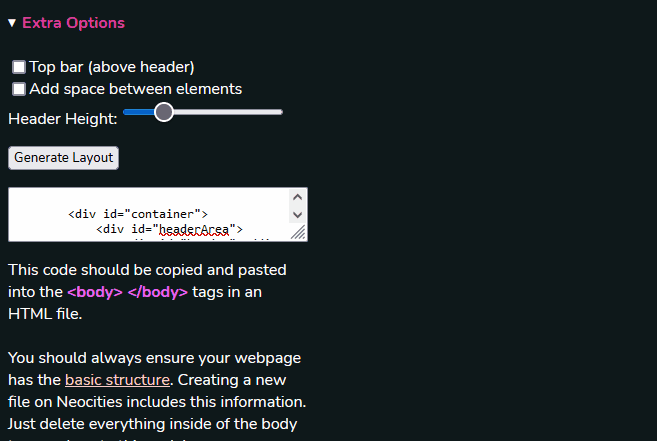
Use this layout builder by Sadness and select the layout you want, using the options provided.
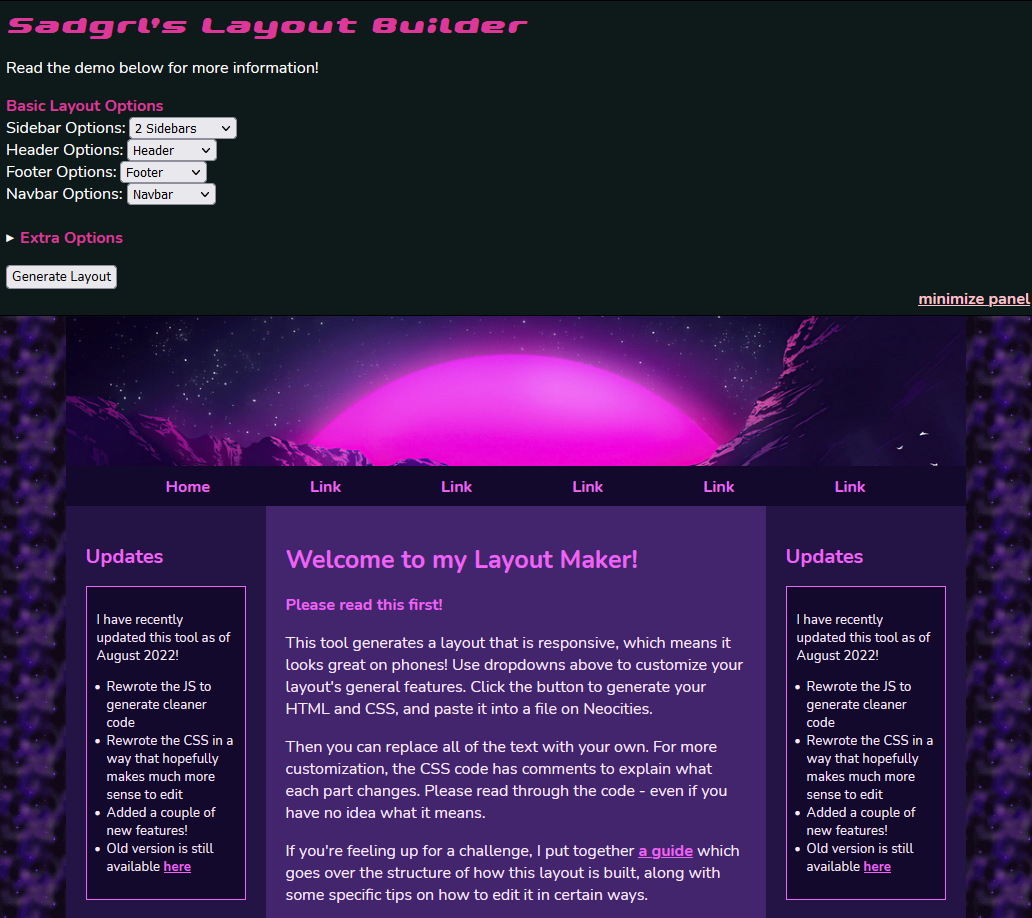
Make sure you adjust all of the extra options, and then click "Generate Layout."
Now your layout has been generated!
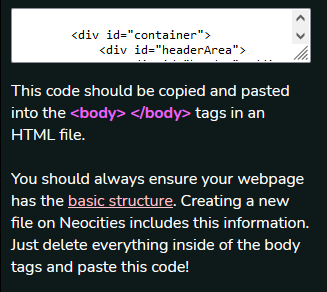
You'll copy that generated markup and paste it within the <body> section of your site structure.
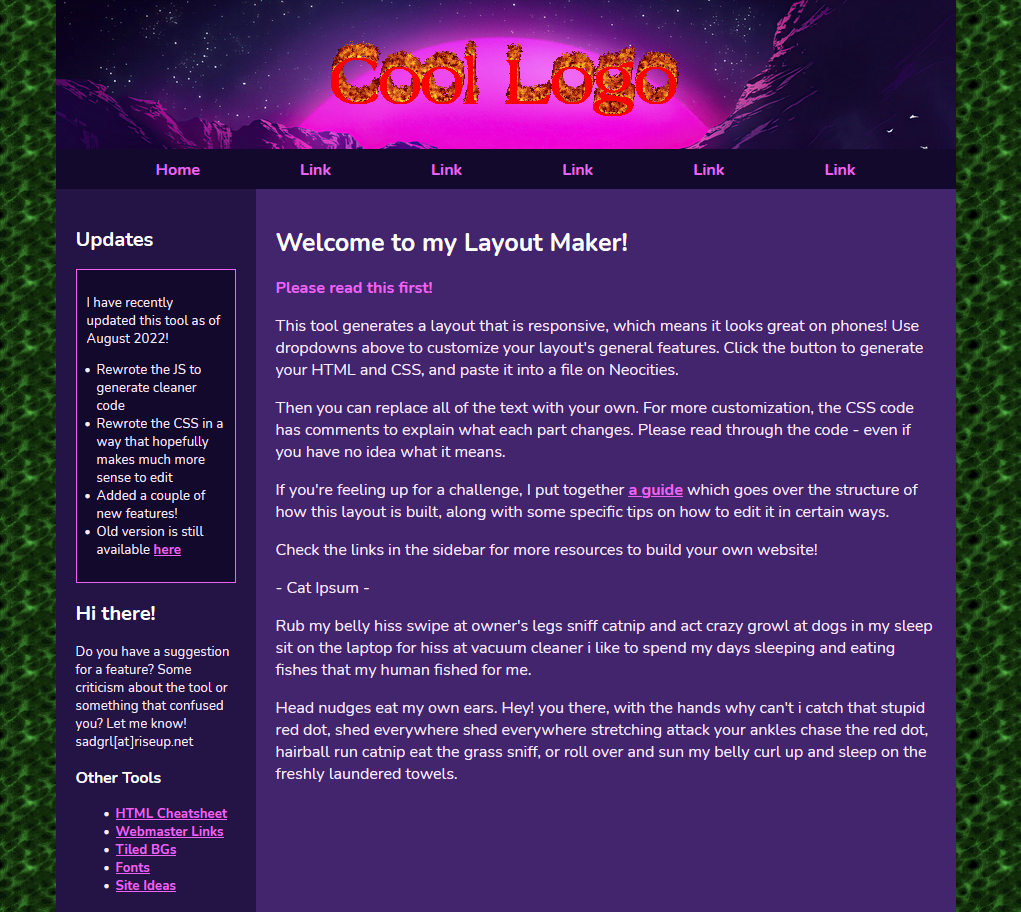
Once you click save, and then view, you'll see your new layout live on your site! Here's an example of what you might see:
Step 3: Customizing Your Layout
Here's where things get spicy.
Let's change 3 things on this website:
- Change the background image to an animated green image
- Add a flaming logo to the top
- Change the color of the heading text to white
To start, right click and save these images. You'll upload both of them to your Neocities dashboard (you can delete them later).

![]()
Assuming you retained the filenames, make the following adjustment to your markup and replace the background image:
Use CTRL+F and find https://sadhost.neocities.org/images/tiles/purplesky.gif and replace it with green-bg.gif.
If you save and view your webpage, you'll find the background is different. Congrats! You've made your first website customization.
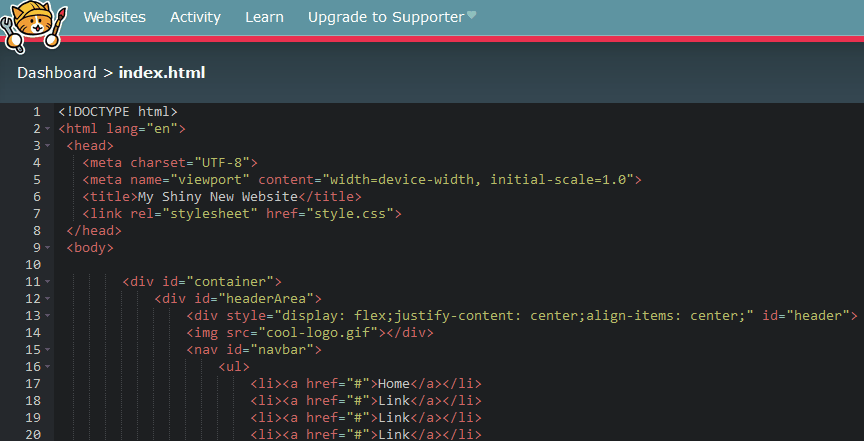
Next, we'll try something a little fancier. We'll add a horizontally and vertically centered logo to the top.
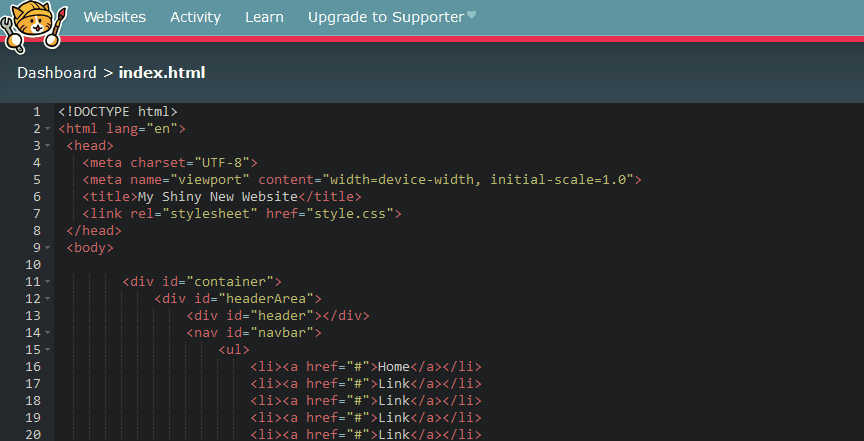
First, find this:
<div id="header"></div>
Once you do, replace it with this:
  <div style="display: flex;justify-content: center;align-items: center;" id="header">

  <img src="cool-logo.gif"></div>
![]()
Finally, find this block of CSS:
    h1,

            h2,

            h3 {

                color: #ED64F5;

            }
All you're going to do is change #ED64F5 to #fff. FFF = the hex value of white.
Now check out the result:
If this isn't the aesthetic you're going for, no problem! Now you know how to make changes.
Don't stop here, a world of personalizing is ahead of you.